Overview[ | ]
This heroic dungeon features a 6 version of a frozen den that you must travel through and defeat its many dwellers in order to meet face to face with the Angler Yeti.
Boss #1 : Mighty Chubarro[ | ]
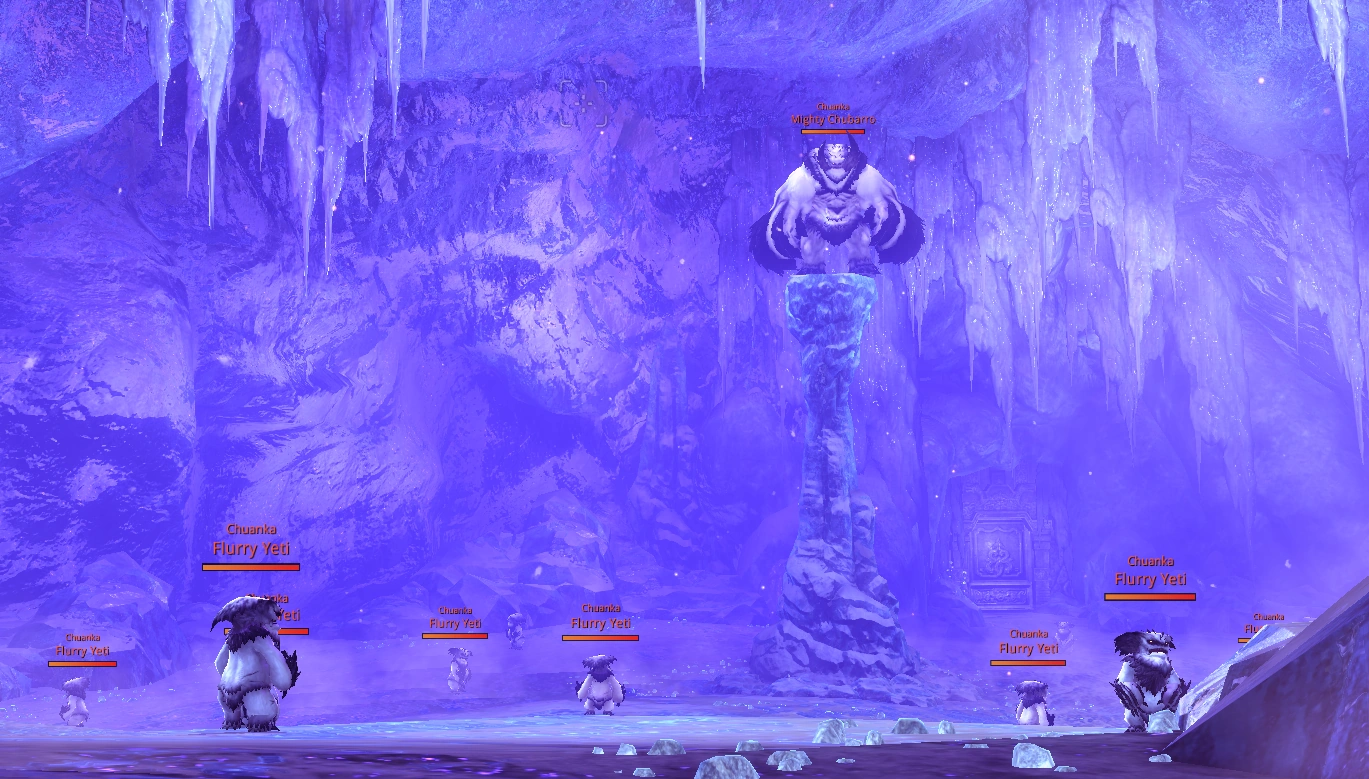
After making it through the first hall of mushrooms, you will enter Mighty Chubarro's room. This room is scattered with small Flurry Yeti's, with Chubarro perched on top of a beam of ice. You must find a way to do damage to the boss to have him fall, or get him down from his perch to allow your entire party to deal damage. There are two methods to this:
- Method A: Have the ranged classes in the party attack the boss while the melee classes run around and attack the smaller mobs. Collect the snowballs that are dropped by these mobs and throw them at the boss. After a certain amount of damage has been taken, the boss will fall and you may free DPS.
- Method B (requires a Lyn Blade Dancer): Have two people use two crowd control/disabling abilities to knock the boss down. This can be two melee classes with ranged cc, two ranged classes with cc, or a pair. As long as the two abilities share the same effect, you will achieve the knockdown. For example, you can use Blade Dancer’s Soaring Falcon* and Warlock’s Tether Blade to achieve a double knock down. Once the boss has been knocked down, the Lyn Blade Master can use their grab ability to pull Chubarro from his perch.
*Skills must be talented for specific attributes.
Boss #2: Yeti Chief Hunter[ | ]
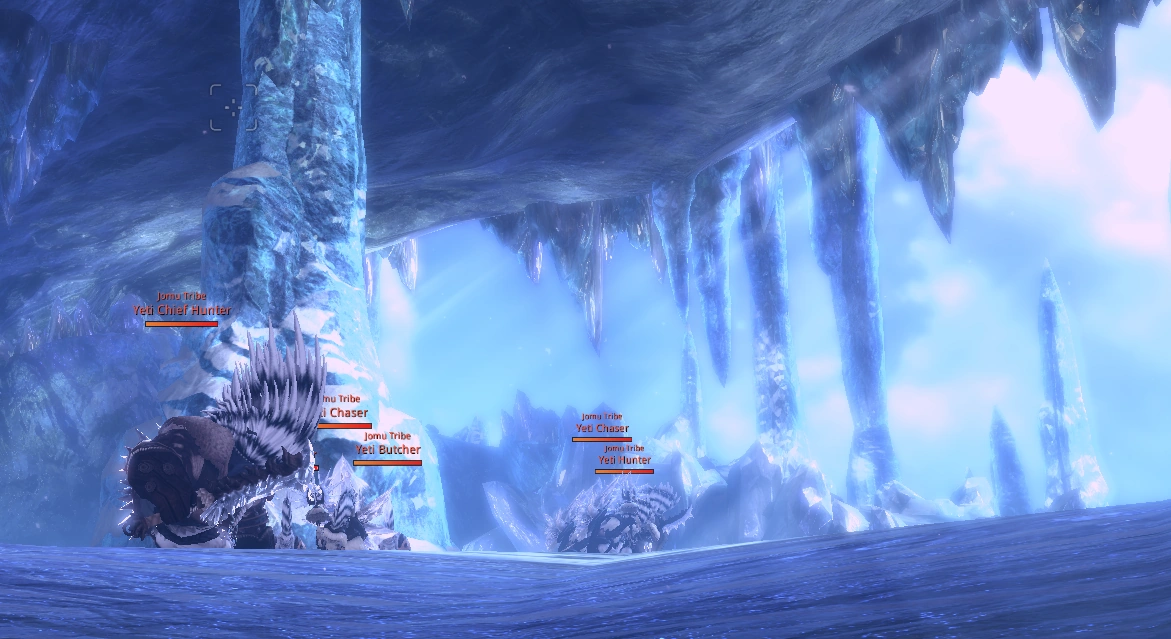
After making it through the second hall of mushrooms, you will defeat a small mini boss before entering this room. For this fight you’ll come into a room filled with mobs and the main boss of the room. You may very well just go through and hectically deal with all of the mobs and the boss, or you can:
- Clear the mobs on the right while also avoiding aggroing the boss and other mobs in the room.
- After you’ve cleared the mobs, run onto the ledge while someone in your party lures the boss over. Doing this will cause the boss to come up onto the ledge but the mobs to be stuck at the bottom.
- To lure the boss, wait for him to walk within range and then use a single target ranged skill to get aggro (ex: Blade Master and Blade Dancer’s Soaring Falcon, Assassin’s Shuriken, or any of the ranged auto attacks), or you can disable the boss and carry him to the ledge if your class allows that (ex: Blade Dancer’s Phantom Grip and Destroyer’s Seize).
- Once lured, kill the boss and use AoE skills to clear the tiny mobs that come from the top of the ledge once the boss has been defeated.
Final Boss: Angler Yeti[ | ]
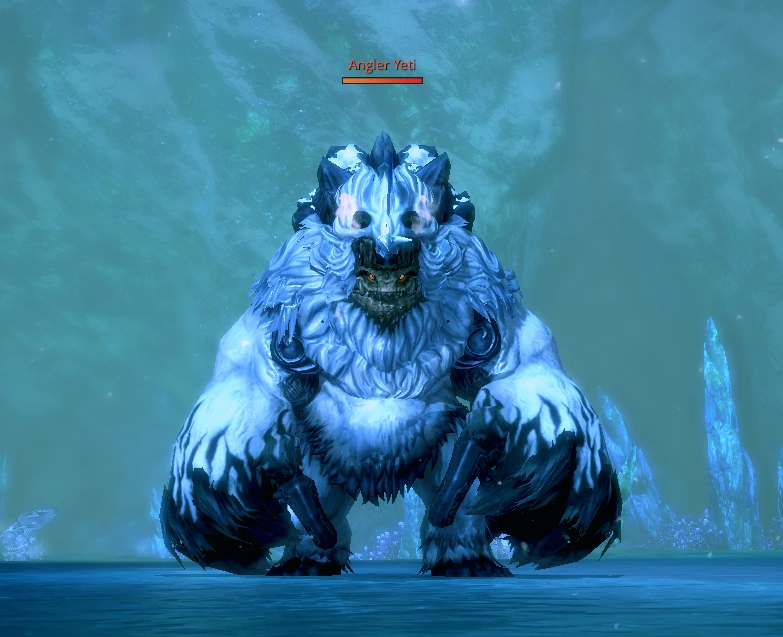
Once you’ve defeated all the other bosses, you will finally meet with the Angler Yeti (Level 51, HM1, 5.7M HP). Throughout this fight you will be hit with ground smashing attacks, blistering heat, and chilling cold. It is up to you and your party members to deal with these elements to defeat the large ice man!
Basic Attacks[ | ]
- Forward Slash/Claw: Will attack twice, swiping his hands in front of him doing damage in a cone.
- Double Paw: Will crush both of his hands together in front of him, doing damage in the area and stunning whomever is hit. *Can be disabled after animation
- Big Jump: Will walk backwards and then take a small leap at whoever has aggro, doing Aoe damage and knocking down whoever is hit. *Can be disabled before and after jump
- Small Jump: Will leap in place. *Can be disabled after jump
- Sweep: Will sweep with one hand in front of him, knocking back who is hit.
Special Attacks/Phases[ | ]
Heat Phase[ | ]
Yeti will jump to the center of the room and pull party members in, dazing them, and applying a “low temperature” debuff. After this, Yeti will grab the main tank (if within range) and apply a “heat” buff to them which will remove their “low temperature” debuff. Once thrown, the person will radiate “heat” from their body and then be leaped on by Yeti.
The main mechanic during this phase is removing the frozen status from yourself. There are two ways to do this:
- Method A: Main tank gets grabbed and thrown, while the other party members run to them to take heat from their body. The boss will jump to the main tank after being thrown, but it is important that the person who initially acquires the heat buff does not move until the boss launches toward them and your downed status has ended. This gives enough time for party members to take the buff and for you to iframe out of the attack (using your SS). You have 20 seconds to take heat before being frozen! If you become frozen, you will die from Yeti’s big jump at the end of the heat phase.
- Method B: If the main tank chooses not to be grabbed by running away from Yeti, you must disable the boss during his 2nd small jump to force the final “big” jump which opens the geyser. Once the geyser is opened, you must run and take the heat from this area.
Other Tips for Heat Phase:
- You can iframe the pull from the boss using Q/E/SS, or any other iframe skills (such as "bubbles"). This gives you free movement to be able to put yourself in a position to take heat from the main tank who has been grabbed or prepare to disable the boss.
Cold Phase
Yeti will stomp on the ground, causing an “avalanche” that drops stalagmites on the ground. 8 of these will drop to the floor and then Yeti will pull absorb these pools. After absorption, snowflakes will appear and Yeti will freeze everyone.
The main mechanics of this phase are to get rid of the ice pools to limit the number of attacks Yeti does and to avoid being frozen. To do this, please pay attention to these things:
- The stalagmites do damage as they fall. Avoid these so you stay alive and are able to take a pool if needed.
- There will be mushrooms that appear in the room. You may kill them if they become a bother or to use their bombs to remove pools.
- The number of stalagmites that are on the floor are how many attacks Yeti will do after freezing. To limit the number of these attacks, party members must take the ice pools on the ground. Two overlapping pools can be taken at once but you only have enough time to take one or one set of ice pools as you will be frozen upon taking them. The remaining number of ice pools will be how many times Yeti will attack.
- Once snowflakes appear, it is your job to iframe the freeze. Upon successful dodge, you are free to iframe any of the attacks caused from the remaining ice pools being absorbed. If you are attacked during this phase, you will become frozen. If you become frozen (whether during attack or because of the initial freeze), you will die from Yeti’s big jump at the end of the cold phase.
Other Tips for Cold Phase:
- If you’re feeling ballsy and want to take 8 attacks after freeze (or any number, depending on how many pools are left), you are free to do so if you have enough iframes. For those classes who are limited on iframe abilities (you don’t have a Q/E or a bubble), I would suggest bringing along a Warlock to reset cooldowns with Soulburn so you can iframe again.
Drops/Loot[ | ]
Weapons:
- Yeti Weapon
Soul Shield:
- Yeti Soul Shield
Accessories:
- Yeti Ring
Outfit Items:
Other:
- Lost Hongmoon Secret Technique - Volume 1
- Blade Master’s Winged Protector
- Kung-Fu Master’s Counter
- Destroyer’s Hurricane
- Forcemaster’s Impact/Force Blast
- Assassin’s Decoy
- Summoner’s Seed Shroud
- Blade Dancer’s Malestrom
- Warlock’s Soul Shackle
- Honorary Ornament
- Frozen Venom Dart
- Hae Mujin’s Machismo
- Radiant Energy
- Broken Oathbreaker’s Sword Blade